How To Replace Up Down Bearings on LT40 and LT50 Portable Sawmills
By Wood-Mizer, Canada
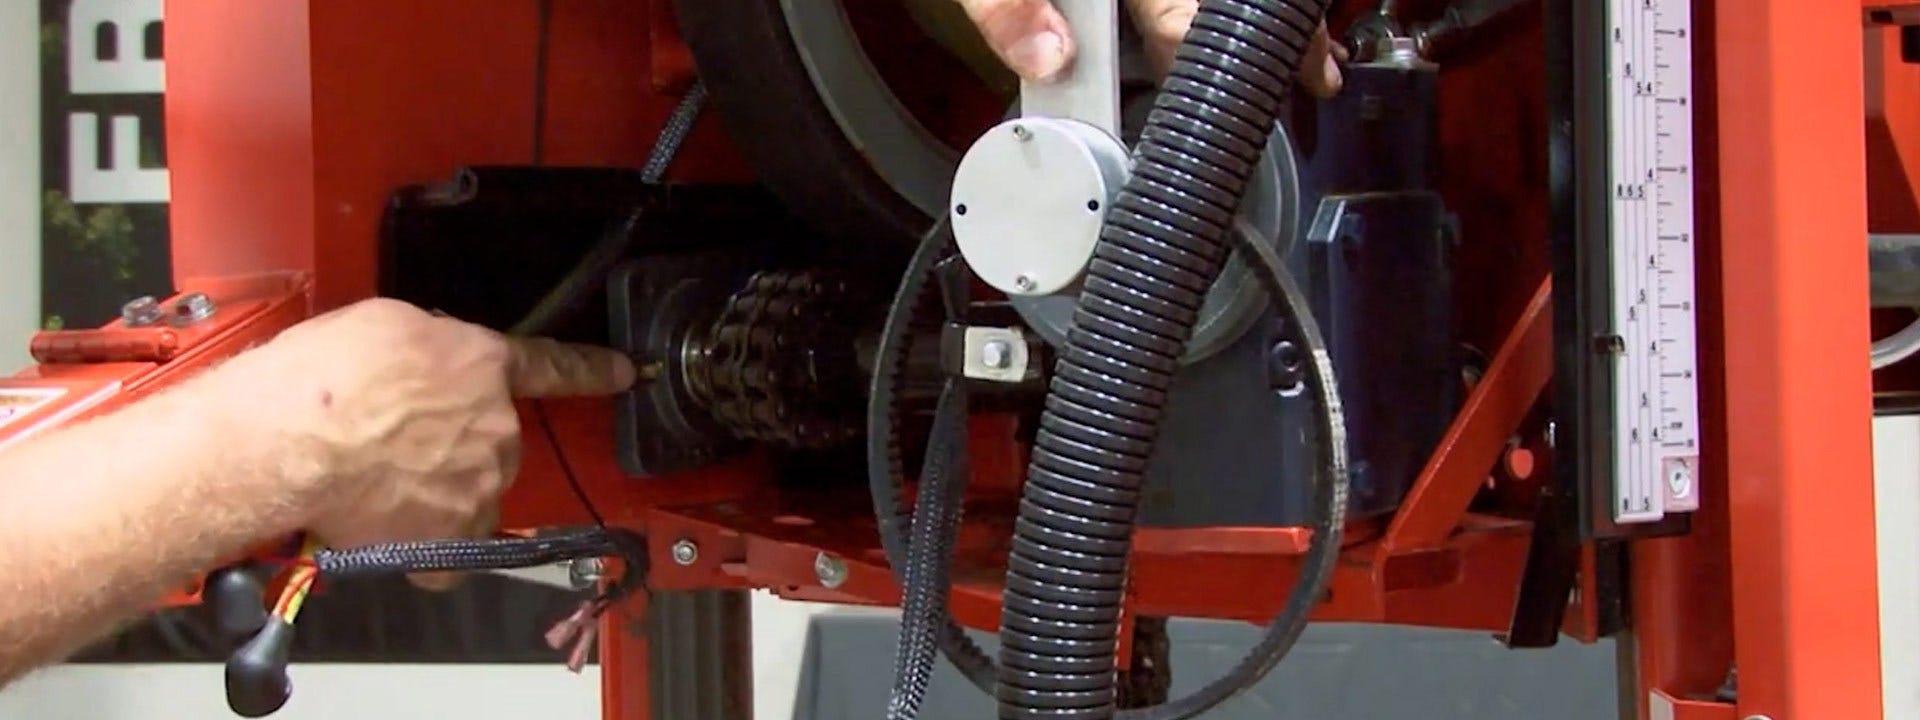
These are Wood-Mizer’s step by step instructions on how to replace the up/down bearings on the Wood-Mizer LT40 and LT50 portable sawmills.
How To Replace Up Down Bearings on Wood-Mizer LT40 and LT50 Portable Sawmills:
1. Start by putting a safety chain over the top of the mast and looping it underneath the bracket. After you have done this, lower the head so that the slack is taken out of the chain.
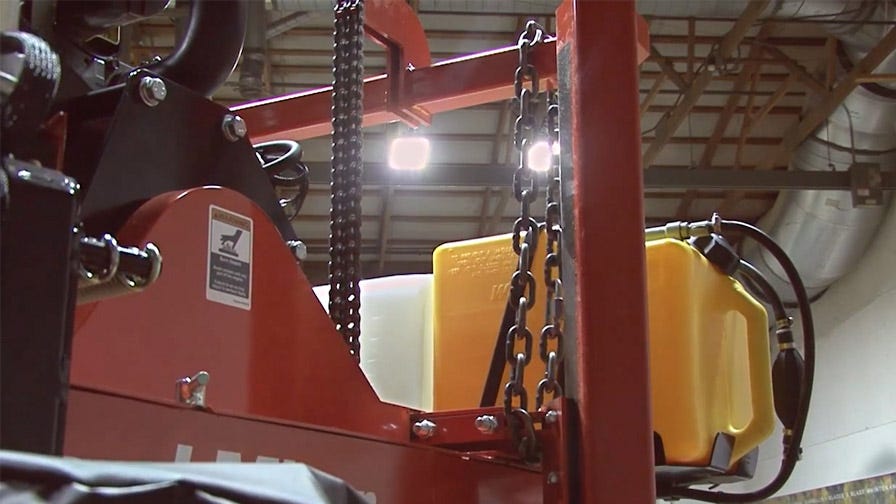

2. You will then need to remove the side cover. To do this you will need to unscrew the bolts on the front and bottom of the cover.
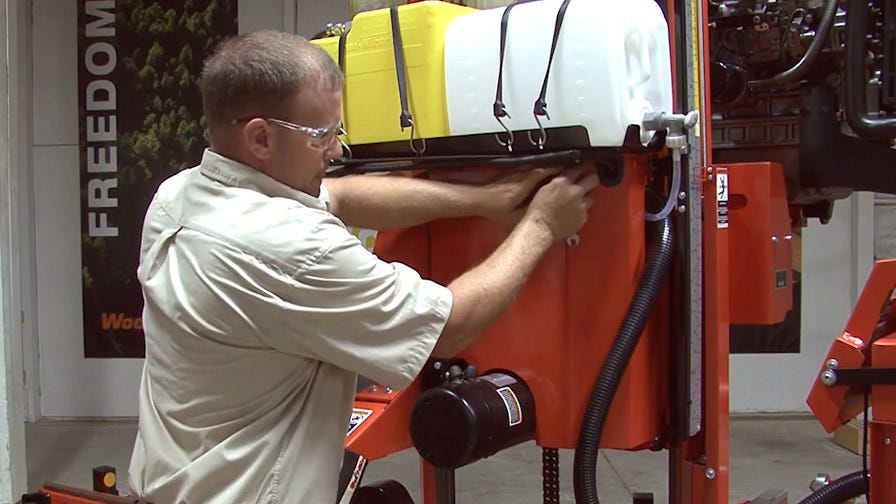

3. Next, you need to get the up and down motor out of the way so that you have room to work. You will need to take the leaves and the crossbolt off to do so.
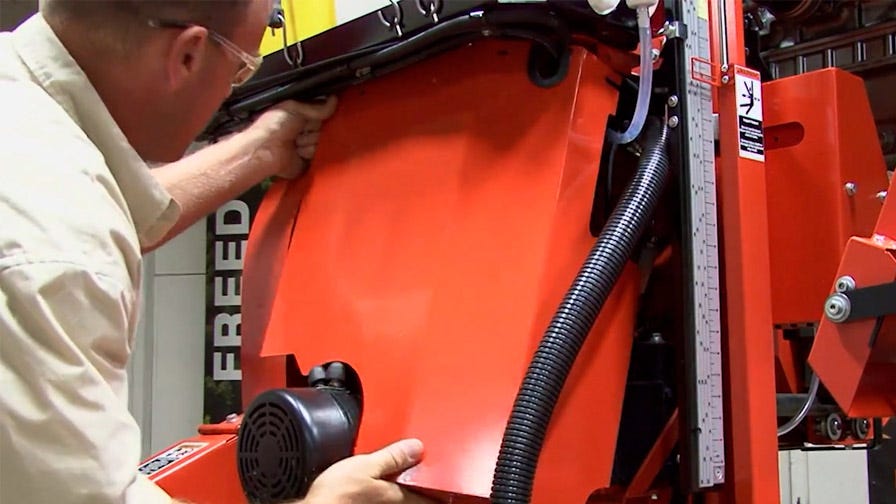

On the back side of the motor there is a tension spring that is holding tension against the up and down belt. Slide the spring off the keeper and unplug the break wires.
You will also need to remove the bracket that is keeping the brake wires in place and make sure to also take the belt off the pulley. These steps will need to be done before you remove the motor.
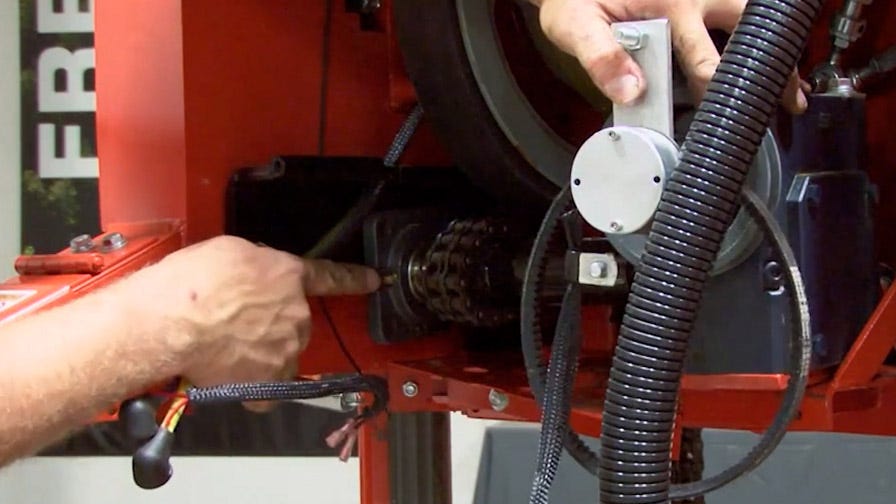
4. Once you have removed the motor, you will need to loosen the up and down chain.
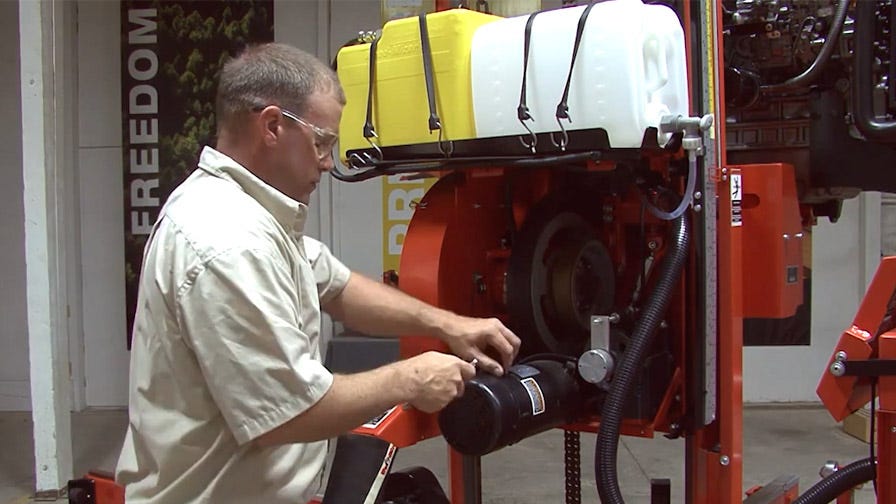

The one nut that secures the holder for the up and down chain can be removed using a ¾ inch wrench. Once the chain is loosened you can pull the slack through the sprockets at the top.
5. There are then 4 bolts underneath the gear box that will require a ½ inch wrench to remove.
There are then 4 more that are holding the bearing you are trying to replace. Use a 9/16 inch wrench to remove these.
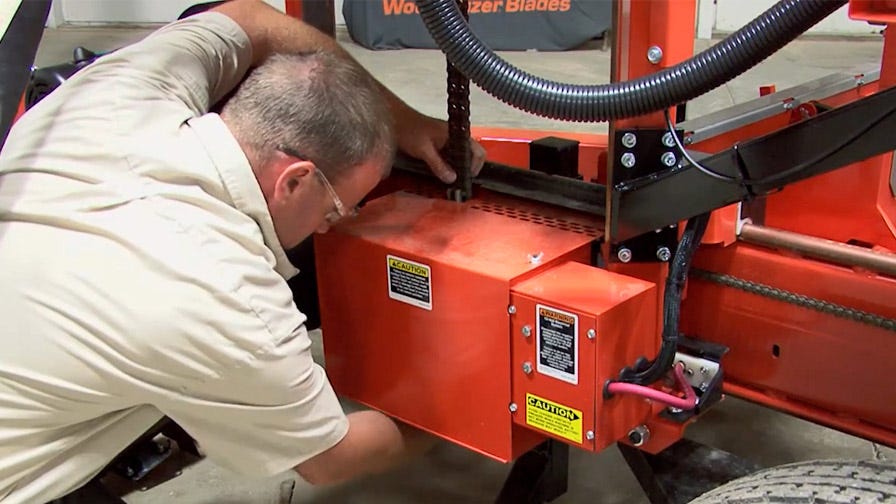

6. Now take an Allen wrench and remove two screws that are securing the bearing to the shaft. Loosen these two screws so that you can slide the bearing off the shaft.
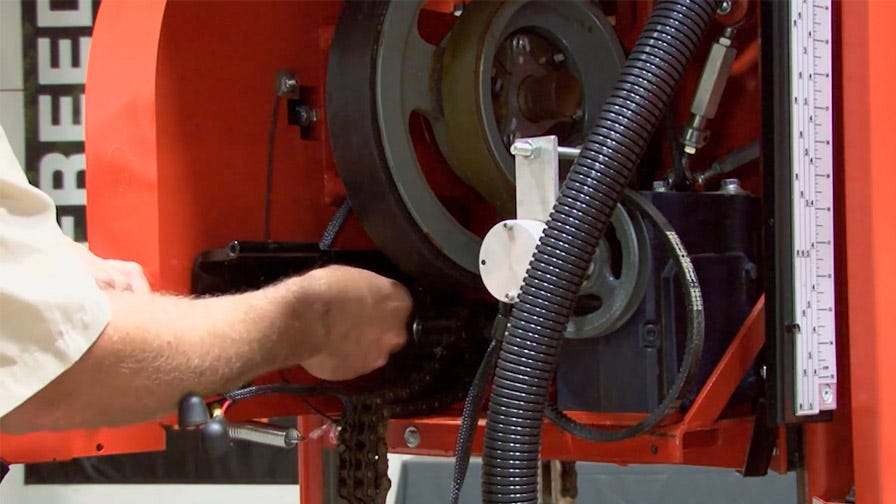

7. Once those are loose, slide the gear box, bearing and all out. They do not need to be completely taken out, but just moved to the side. This will give you enough room to slip the bearing off the shaft.
8. After the old bearing is off, set it aside and grab your new bearing. Slide the new bearing on the end. Make sure that the greaser is pointed towards the outside when you reinstall the new bearing.
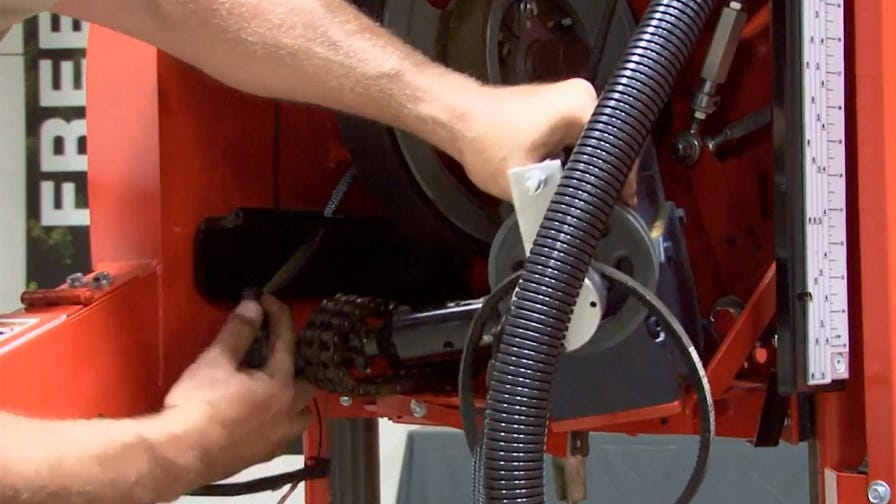

9. Now slide the gear box and bearing back into place, put your bolts back into the bearing and finger tighten. Place the bolts below the gear box back in, and once all the bolts are placed on the bottom of the gear box and on the bearing, you can tighten them back up using a 1/2 inch wrench on the bottom of the gear box and a 9/16 inch wrench on the bearing.
10. Then make sure to tighten the set screws back up. Just like when you loosened them, you may have to spin the shaft to make sure you can reach both screws and to make sure that they are securely fastened.
11. You will need to make sure all the slack is out of the chain. Once that is done, you will begin to reinstall the tension spring and the nut on the bottom of the tensioner for the up and down chain.
12. Tighten it just enough so that you can tell there is some spring tension against the up and down chain.
13. You are now ready to reinstall the up and down motor. Place it back in and retighten the bolts and reattach the hook of the tension spring at the bottom.

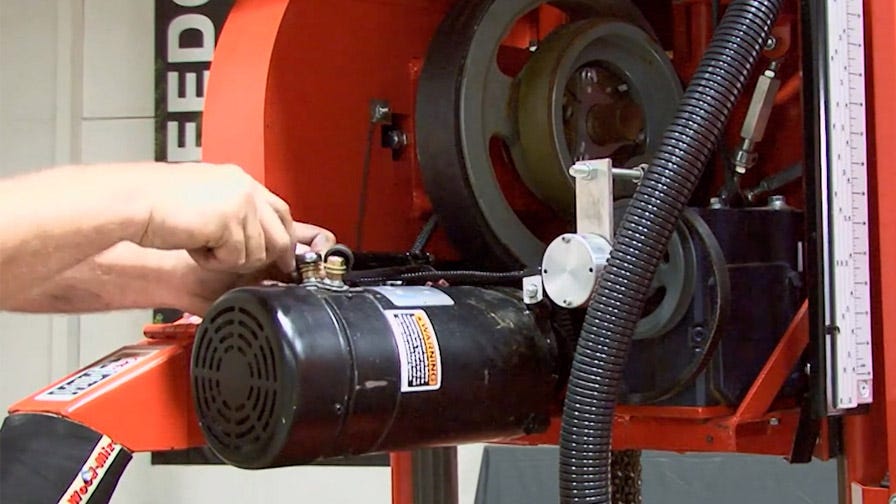
Reinstall the leads on the motor, making sure they are snug but not overtightened. And put the caps back on them.
Once that is done plug back in the brake wires and tighten the back bracket that will hold the brake wire cable.
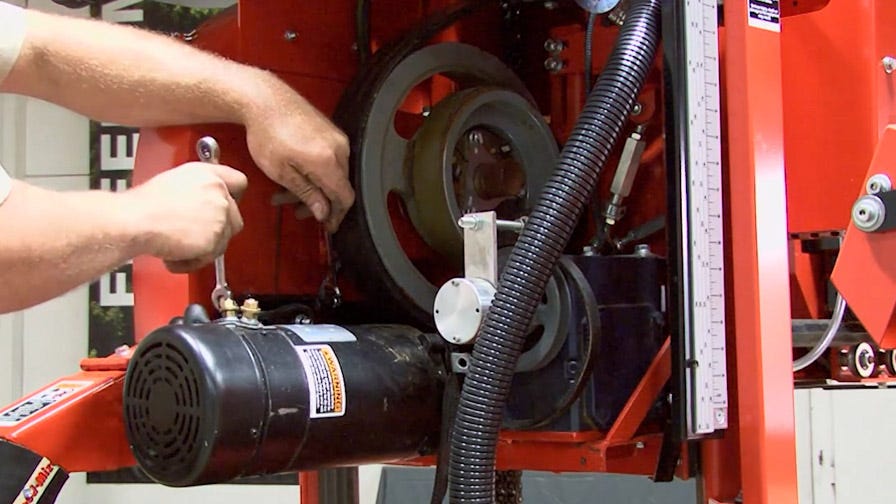

14. You can then put the belt back on.
This is spring loaded, so be sure to lift the motor and make sure the belt is on both pulleys.

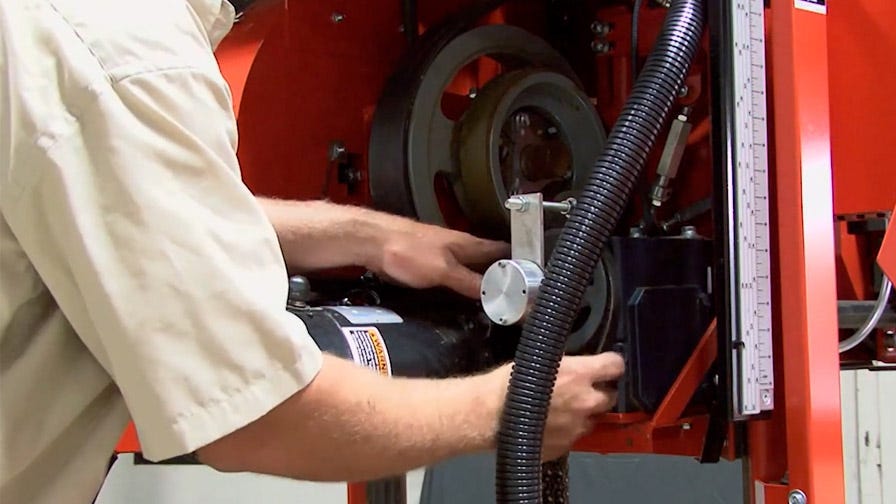

15. After this you will finally be able to reinstall the safety cover and take off the safety chain you installed prior on the up and down. To do this raise up the head to take tension off the safety chain.
If you have any questions, please contact Wood-Mizer.

